You’ll never be able to anticipate every risk event that could occur in a project, but by using a risk register, you’re prepared to respond quickly before project risks become real problems that sidetrack the whole project.
What Is a Risk Register?
A risk register, or risk log, is a risk management tool used to identify potential risks that could affect the execution of a project plan. While the risk register is mostly used during the execution of the project, it should be created during the project planning phase. It’s never too early to start thinking about risk analysis in your project and having a project risk register on hand and ready is essential in managing risk.
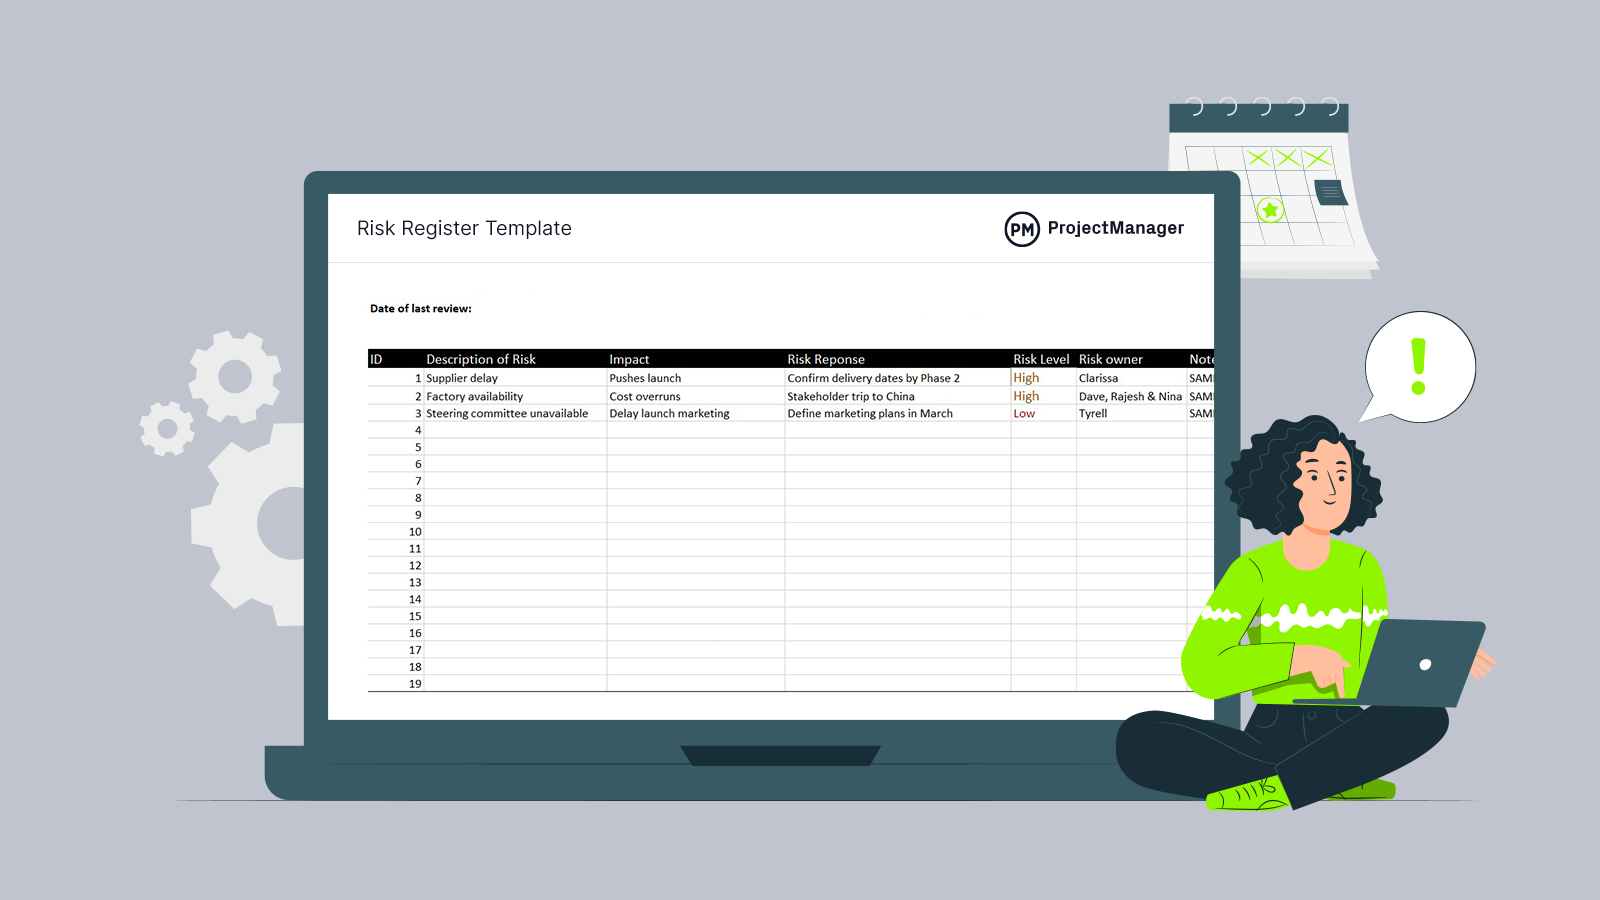
Get your free
Risk Register Template
Use this free Risk Register Template to manage your projects better.
Get the template
A risk register is the first step in project risk management, and it’s an important part of any risk management framework. It helps project managers list risks, their priority level, mitigation strategies and the risk owner so everybody on the project team knows how to respond to project risk.
What Is the Purpose of a Risk Register?
If you know what risk management is, then you’ll know that the next step to managing risk is strategically working to control the potential issues that are most likely to occur when you’re managing a project. Therefore, you should have a risk analysis mechanism in place to collect potential risks and map out a path to mitigate risks and get the project back on track, should those risks become realities.
Having a risk log to track project risks, whether by a simple spreadsheet or as part of a more robust project management software solution, is a good idea to tackle in any project plan. There’s risk inherent in everything, and that’s especially true when managing a project with many moving parts.
Use a Risk Register Online With ProjectManager
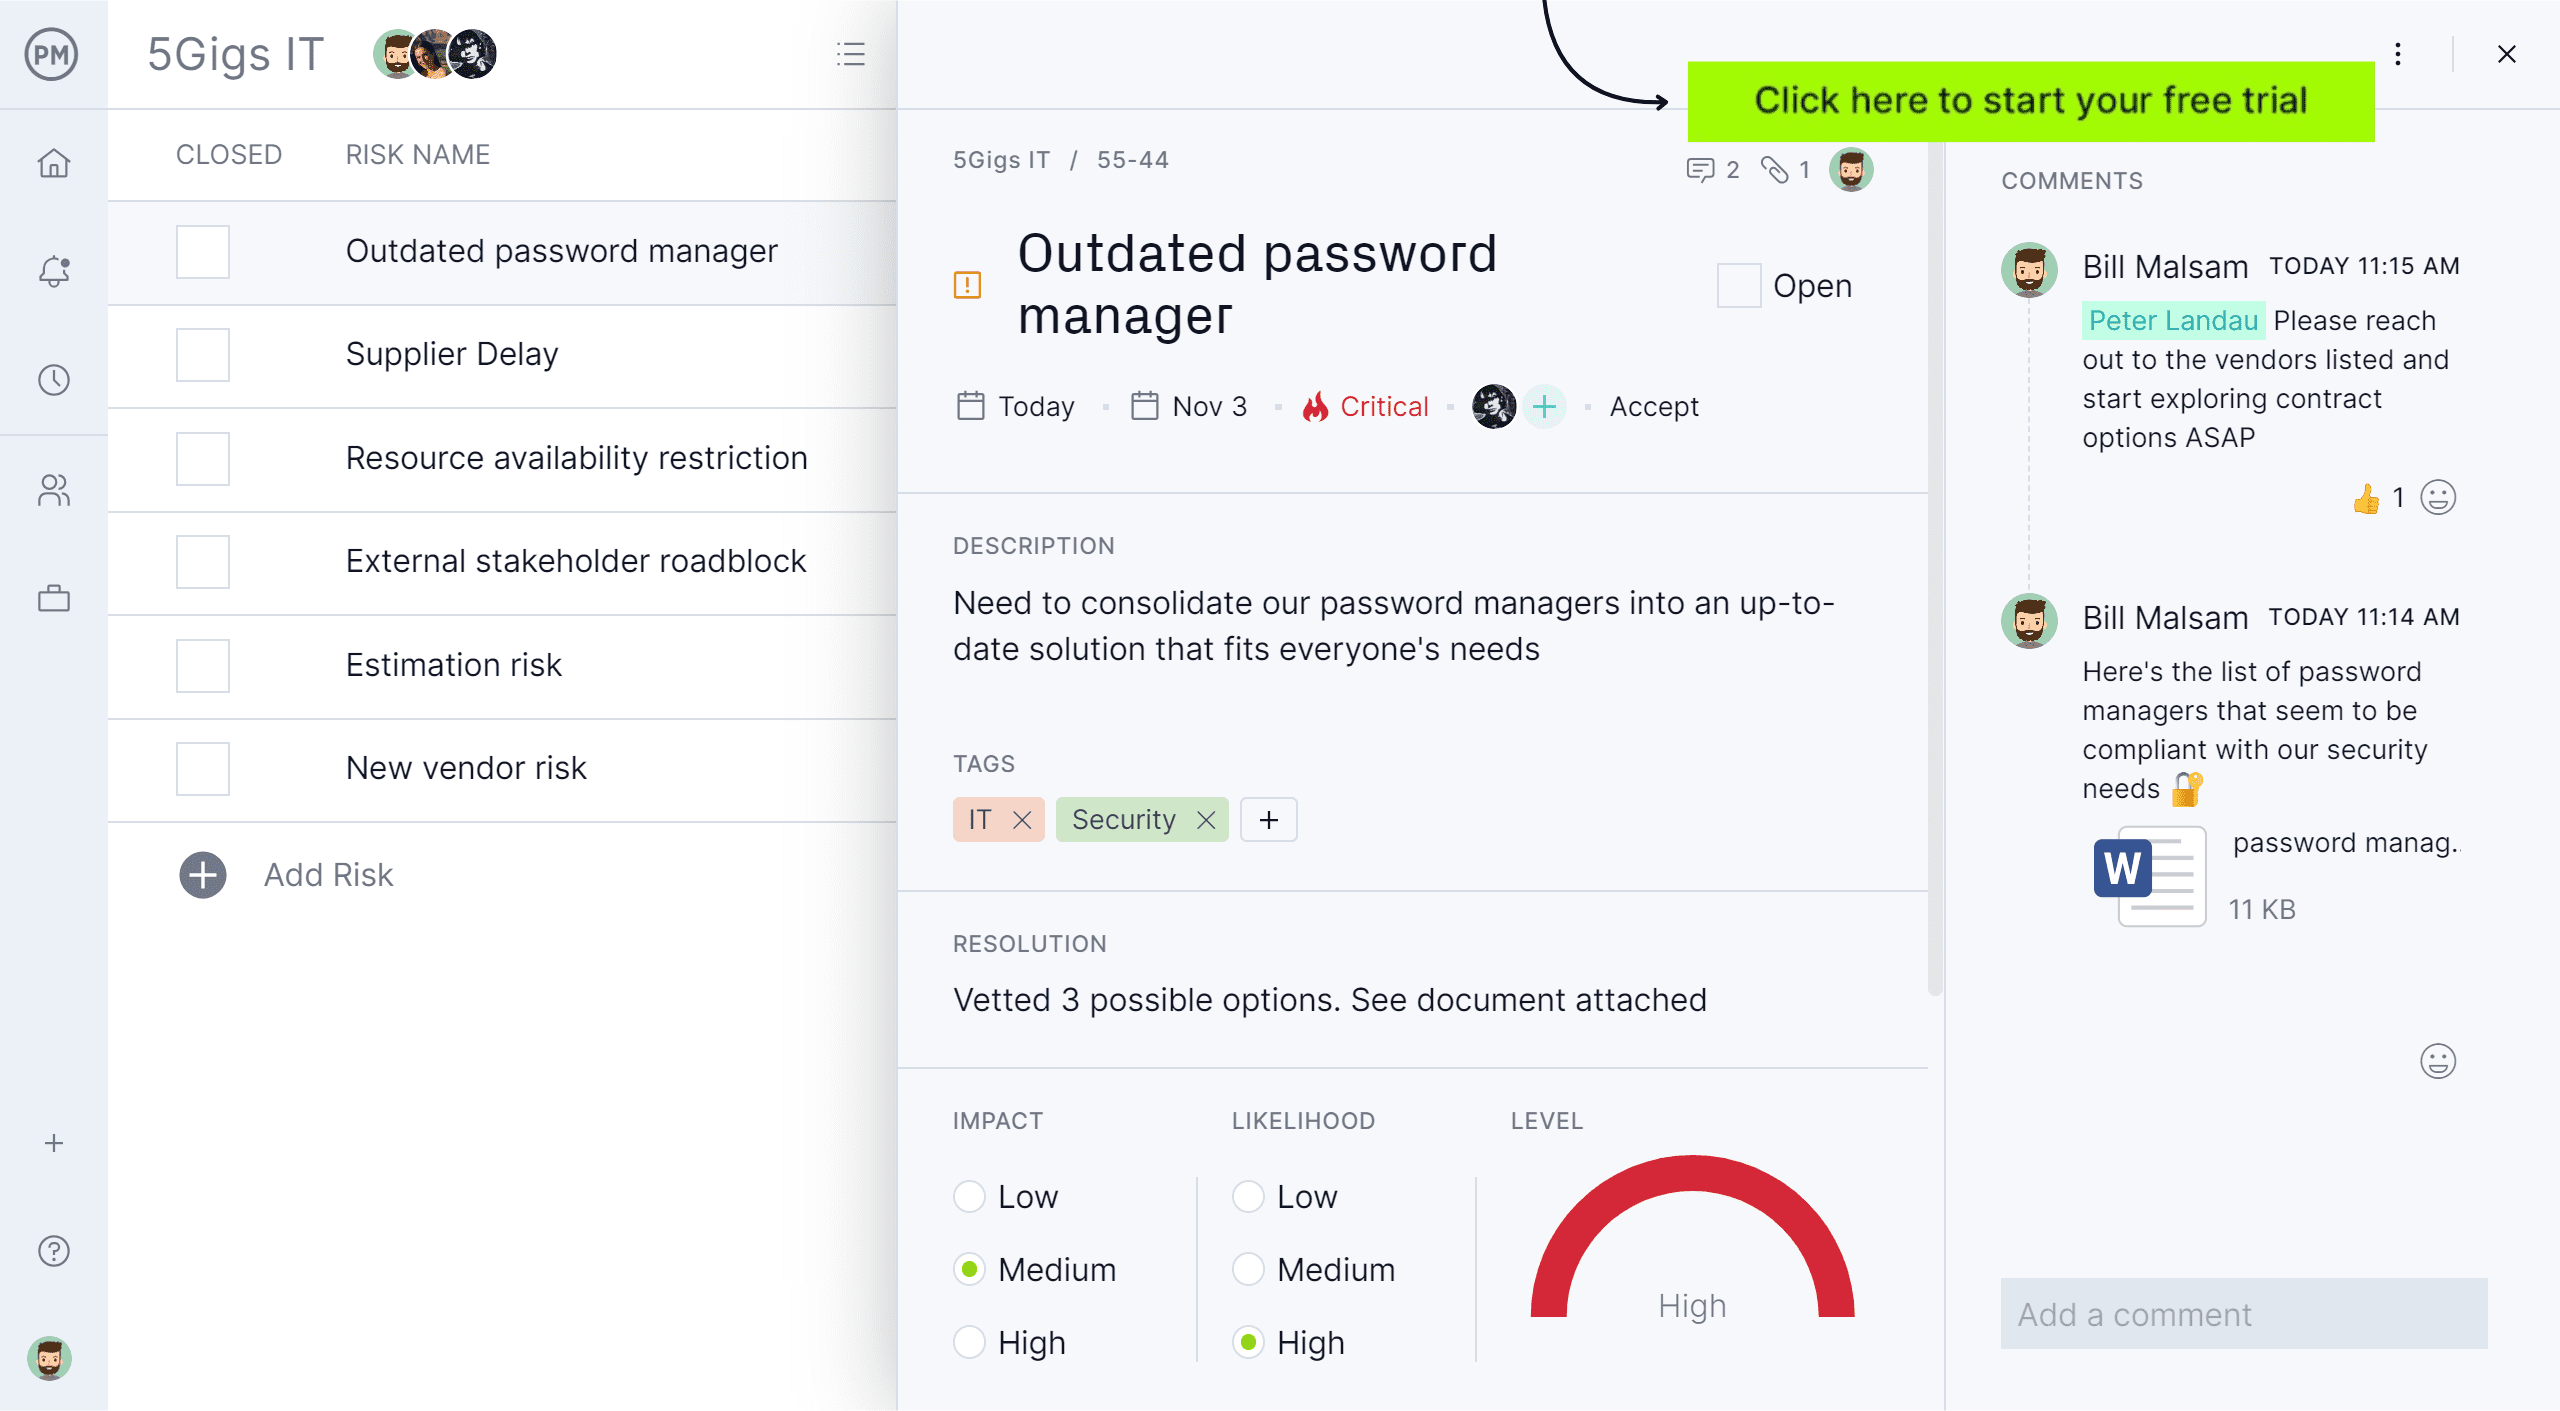
Project management software can help you track risk better than a static spreadsheet. With ProjectManager, you can make an online risk register where you can identify risks, calculate their impact and manage them with your team.
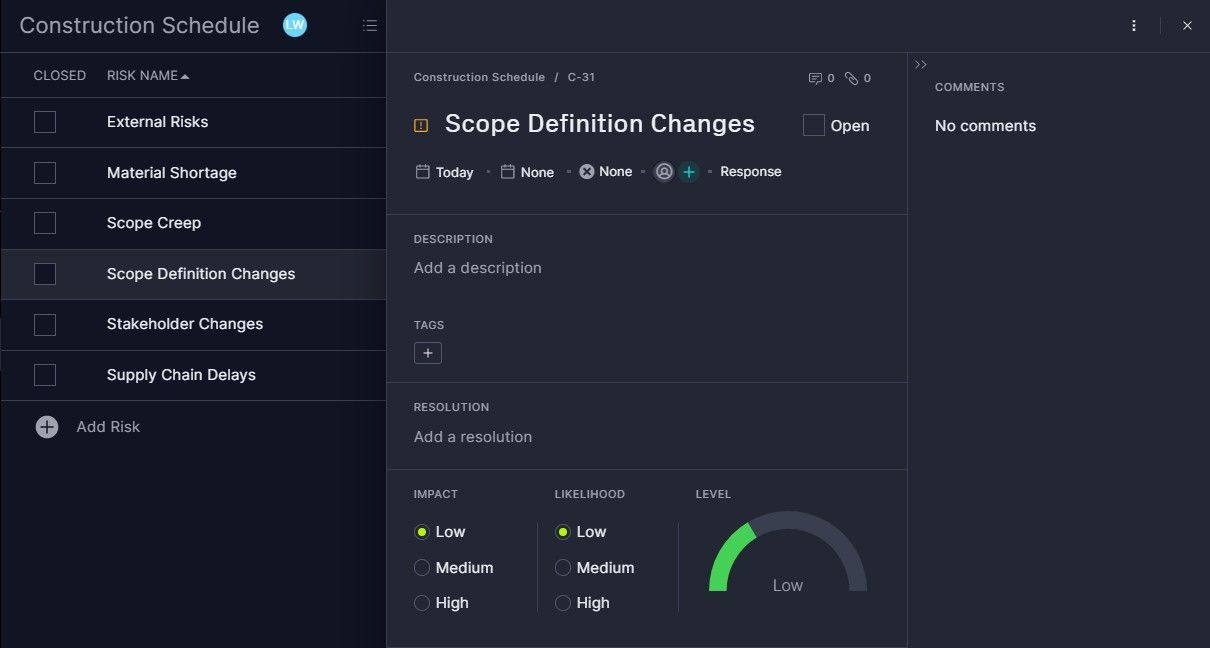
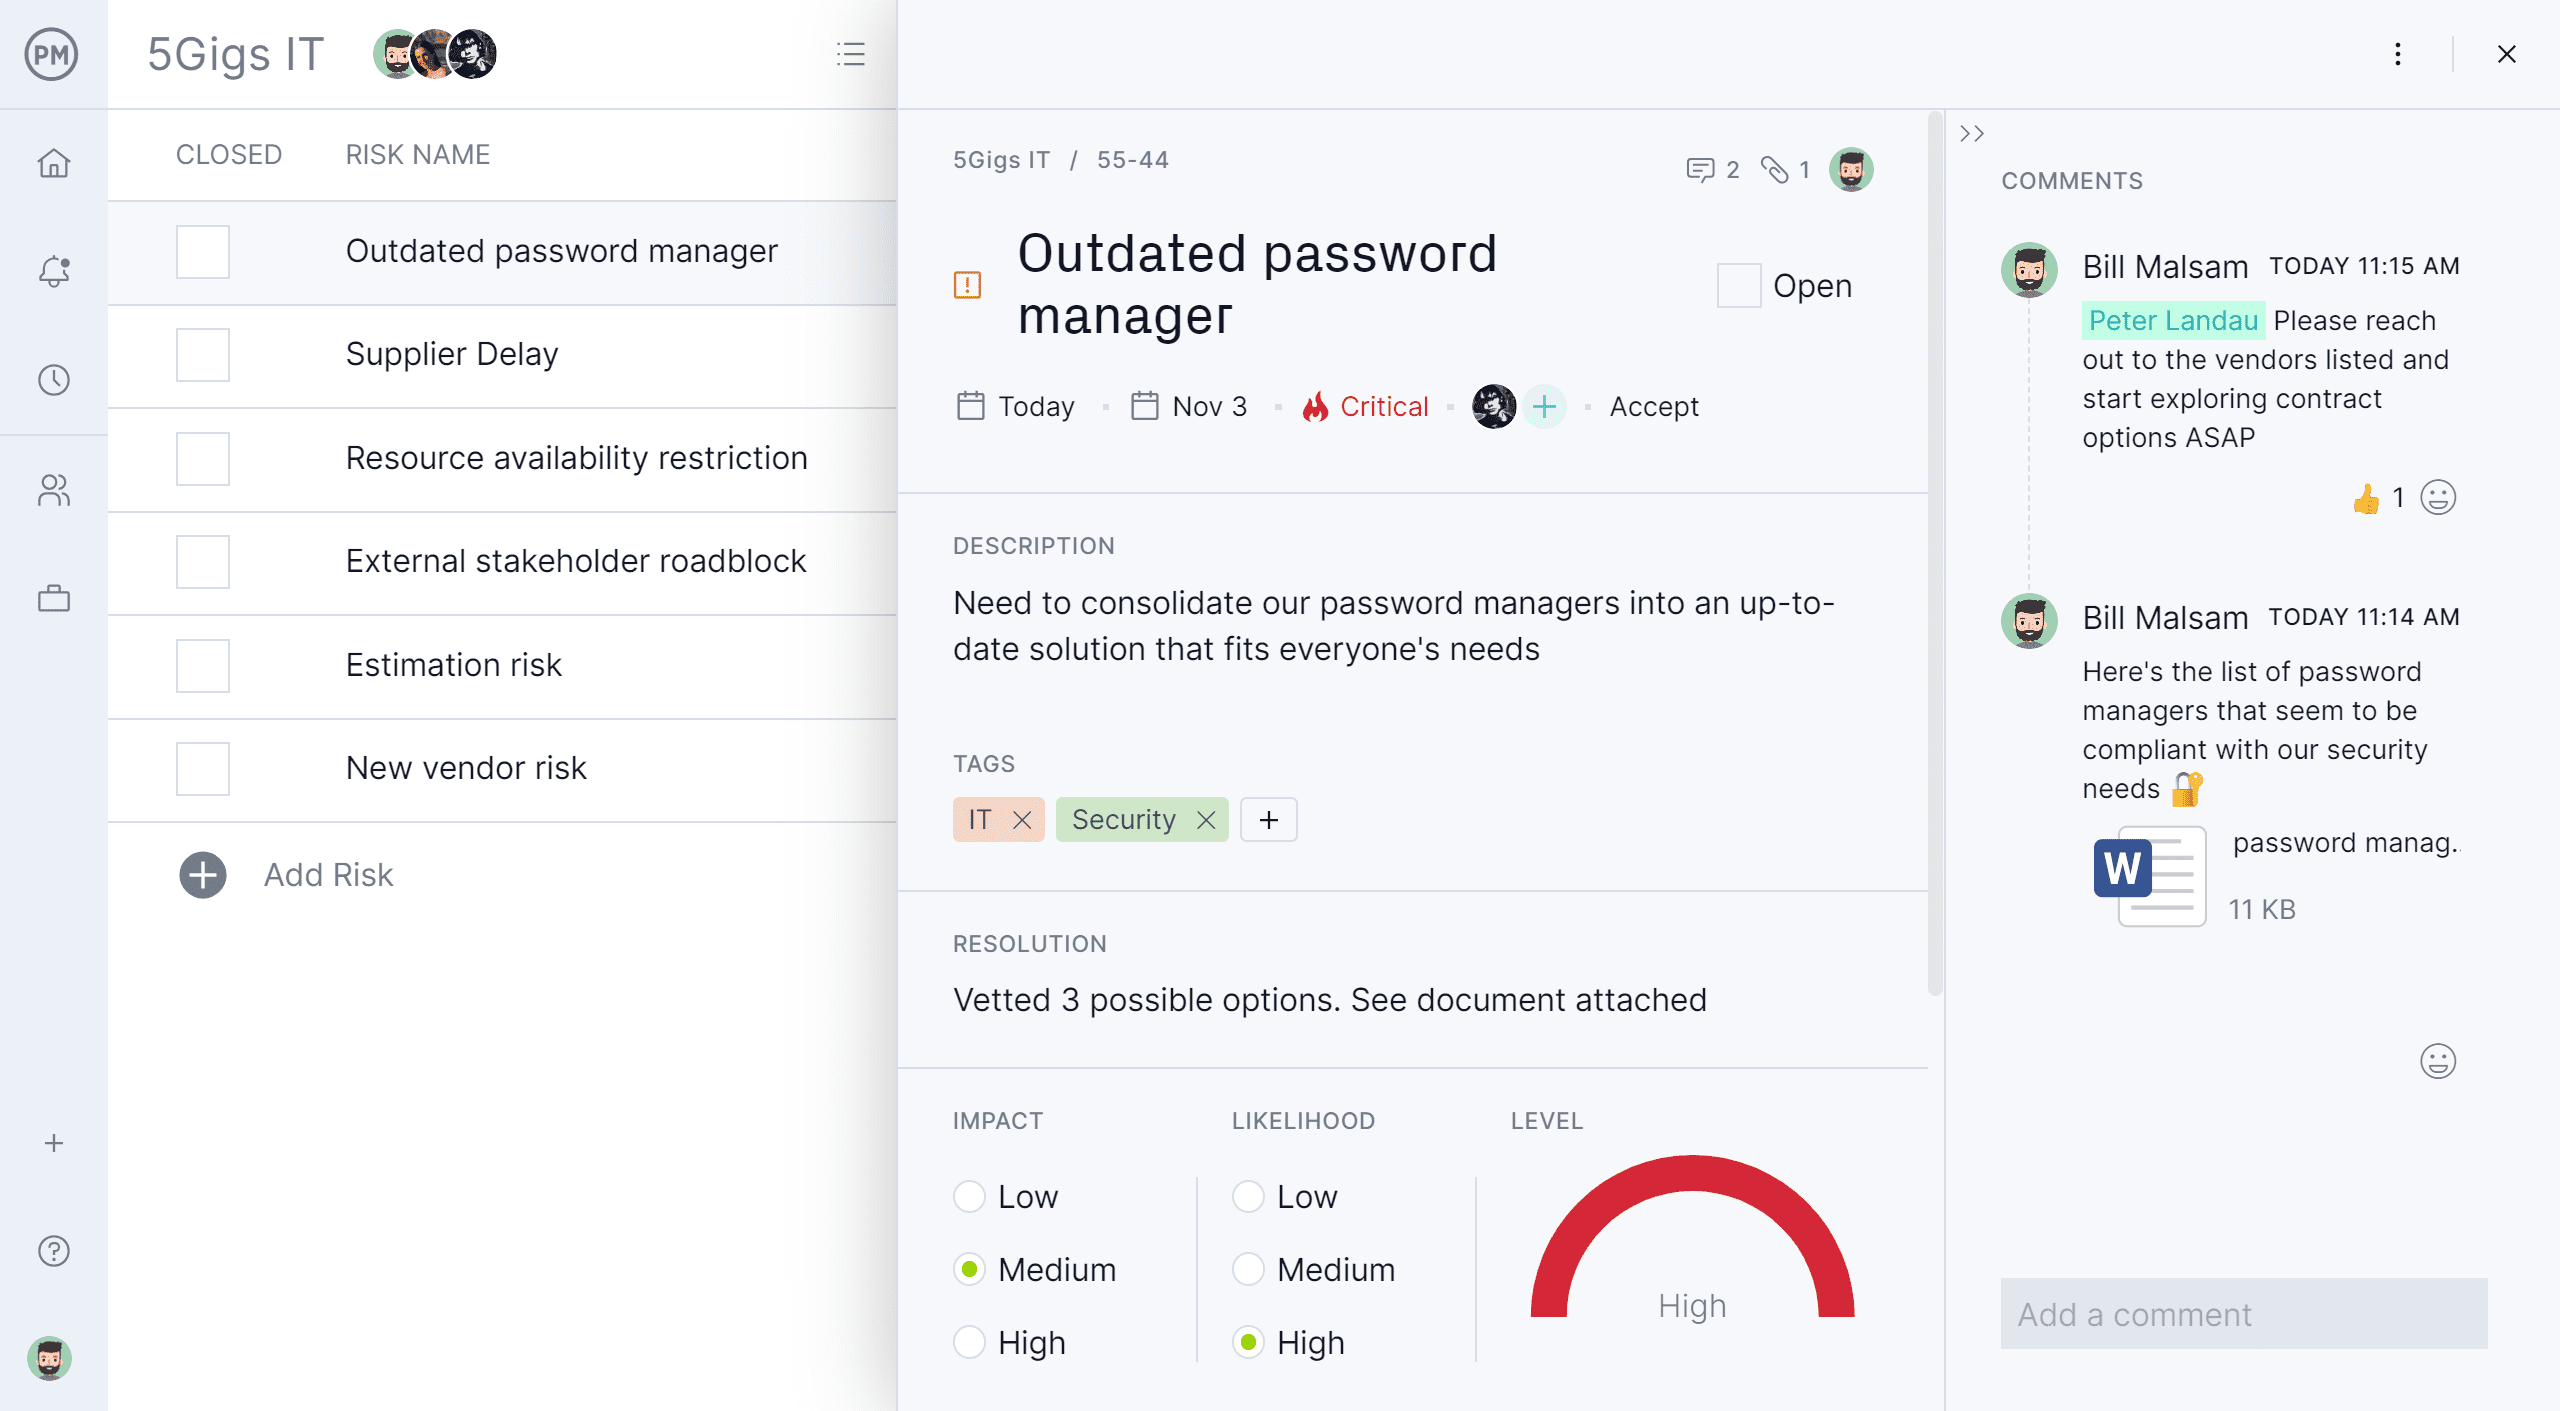
- Write a description, add tags, identify a resolution, mark impact and likelihood, even see a risk matrix
- Free guest licenses give stakeholders real-time insights into risks and project progress
- In-depth reports let you track and manage KPIs that matter to you. Try it free.
Risk Register vs. Risk Matrix
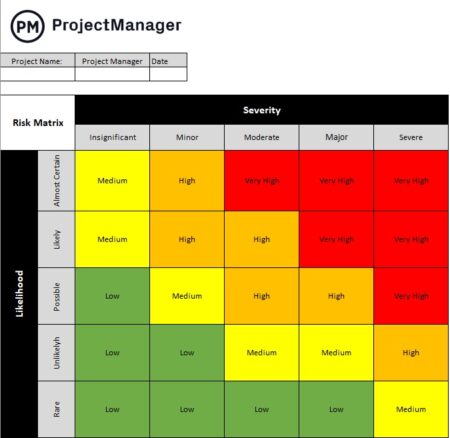
A risk register and a risk matrix are similar tools. Both assess the level of risk and are key to any contingency plan or risk management plan. But there are differences. For one, the risk matrix is a visual tool. It charts each risk and maps it on a grid.
The risk matrix measures the likelihood of the risk occurring, from rare to almost certain, and its severity, from insignificant to severe. It’s also color-coded to show the priority of each of the risks charted on the matrix.
A risk register also deals with the impact of risk on a project. However, it’s a spreadsheet, not a graphical representation of those risks. Therefore, it provides more detailed information, such as a description of the risk, the response and who’s responsible for identifying and mitigating that risk.
Risk Register Example
Let’s get a better understanding of what a risk register does by making up a risk register example. Let’s say you’re Acme Manufacturing and you’re planning for a large run of widgets that need to be delivered to distributors by a certain date to reach your retailers and customers as expected. Here’s what a risk log example looks like. We used our free risk traking template for Excel to make this example. You can download one for free for your project.
The first step is identifying the risk. You’d give it an ID to make it easier to track. Let’s call this number one, which is equipment malfunction. The next item is describing its impact. If equipment goes down on the assembly line work stops. That impacts the schedule and even the viability of the entire project.

To avoid this issue is to do periodic preventive maintenance, which reduces the likelihood of a breakdown. However, a malfunction is always a risk that might occur, even if the machinery is well-maintained. To mitigate this, you might have backup equipment to keep the assembly line running while the other equipment is being repaired. The risk level depends on the impact this risk might have on your project. The risks listed in this risk register example are high because they affect the project budget and schedule.
Next, is the owner of the risk. That could be John Smith, the mechanic, or Fred Jones, the employee who runs the machine. It could also be both, as Fred could identify the risk when it’s an issue and John is then called to repair the equipment.
If there’s anything that you’d like to add to the risk register, there’s a column for notes in our risk register template. This could be used to track the repair if the risk in fact occurs, or it could capture some other pertinent information not already covered in the risk register.
How to Use a Risk Register In Project Management
The first step in the risk management process is risk identification. Projects are all different, of course, but for organizations that run similar projects year after year, there might be historical data to review to help identify common risk categories for those types of projects.
Additionally, you can anticipate some project risks based on market forces (supply and demand risks, for example), based on common project management issues or even based on weather.
Collect the Project Risks
Collecting the possible risks that can show up when managing a project requires a systematic approach to make sure you’re as thorough as possible. The project risk register is a system, which can then track that risk if it in fact appears and then evaluate the actions you’ve set in place to resolve it.
When registering these risks on a risk log spreadsheet or within your project management software, you have a place to put this data and follow the specific risk event throughout the project, thereby seeing if the risk response actions you’ve put in place to remedy the risk are working. A risk tracking document keeps project risks on a tight leash to mitigate their impact so they don’t ruin your project.
Document the Project Risks
Documenting project risks using a risk register is vital to the success of any project. It gives you one place to identify the risk, note its history—from where it first occurred to where you finally resolve it—and even tag the risk to the person who identified it and manages it. On the risk log, you can note the risk score and how likely the risk will impact the project and so much more.
Monitor the Project Risks
As mentioned, you can assign risks to your team members in your project risk register. That person then is responsible for monitoring the risk and leading any risk response actions required to mitigate the impact of that risk event or address it once it becomes an issue. By documenting this process in a project risk register, you’re less likely to lose track of project risks over the course of a busy project, which means the risks aren’t turning into real issues that can negatively impact the project budget or schedule and compromise the success of the project.
Resolve the Risks
Finally, when the project risk is resolved, you can close it. Nothing is better than checking off that risk in your risk log as no longer a problem in the project. If the risk event has been remedied, you don’t want to continue using resources on a problem that doesn’t exist. It simply gives you more control over your risk management plan and fosters better communication with your project team and stakeholders.

What Is Included in a Risk Register?
Risk registers vary depending on the organization and the project. However, most risk register templates share these commonly used elements:
- Risk identification ID: A name or ID number to identify the risk.
- Risk description: A brief explanation of the risk.
- Risk breakdown structure: A risk breakdown structure is a chart that allows you to identify all your project risks and categorize them.
- Risk categories: There are many risk categories that can impact a project such as a schedule, budget and technical and external risks.
- Risk analysis: The purpose of risk analysis is to determine the probability and impact of a risk. You can either do a qualitative risk analysis or a quantitative risk analysis.
- Risk probability: You’ll need to estimate the likelihood of each risk and assign a qualitative or quantitative value.
- Risk priority: The risk priority is determined by assigning a risk score to each risk, which is obtained by multiplying the risk impact and probability values. If you’re using qualitative measurements, prioritize risks with the highest impact and highest probability.
- Risk response: Each risk needs a risk response to mitigate its effect on your project. Those risk responses are also documented in a risk response plan.
- Risk ownership: Each risk needs to be assigned to a team member who becomes a risk owner. The risk owner is responsible for deploying the appropriate response and supervising it.
How to Create a Risk Register
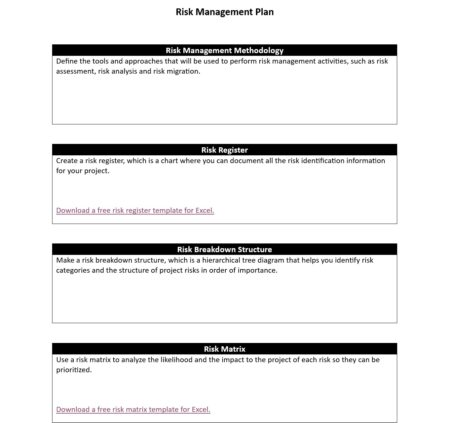
Let’s go through the steps to create a risk register so we can get the most out of this risk management tool.
1. Risk Identification
Get the project team together to brainstorm potential risks. Every team member is responsible for different areas of the project, so use their expertise to identify potential project-derailing risks. You’ll also want to speak with stakeholders to ensure you’ve brought their concerns to mind and are tracking their risks, too. Be sure to exhaust all risk categories of potential impact, from market forces to resources to the weather.
2. Describe Project Risks
The next thing you want to do is describe the project risk. Try to be as thorough as you can while keeping the description to the essentials. Having too vague a risk makes it a challenge to truly understand whether a risk has become a real issue. For example, don’t write, “the weather” for a risk contingent on the weather. Rather, go for something specifically related to your project, such as, “Monsoon season in India could cause shipping delays for copper which will impact the project schedule.”
As you identify and describe risk, ProjectManager will help you assign ownership to a team member, set the priority and attach any relevant files. Teams can collaborate, share the risk, add comments and tag people. Managers get visibility into the work and everyone is working on the same updated and life data.
3. Estimate Risk Impact
Include everything that the risk can influence, so you can develop a strong strategy to deal with it. For example, if layoffs have been rumored in your business sector regionally, identify the actual impact that might have on your project schedule if it came to pass. For example, “Projected layoffs in Southeast manufacturing could risk production schedules in June. This could delay the entire project execution by three months unless alternative production options are considered.” This tells the risk owner to investigate potential options for manufacturing facilities outside of that region, so a real risk management plan is in place.
4. Create a Risk Response Plan
This is the heavy lifting in the project risk register, so give it the time and effort necessary to complete it properly. You want to be thorough, but not excessive. Keep the risk response plan short and to the point. Do your research, so if the risk shows up in the project you can go right into action. Document all response plans and implementation strategies. If this requires a long document, add a link or add an attachment to the risk response plan document to point directly toward the planned response.
5. Prioritize Project Risks
Not all project risks are created equally. Some of them have a greater impact than others, so you have to decide which are going to move to the front of the line and which are okay to ignore if you don’t have the time and resources. Here you’ll determine the level of risk: high, medium or low. This way you can filter your register and prioritize accordingly.
6. Define Risk Owners
Finally, assign an owner to each risk. If you don’t have a risk owner for each and every potential risk, then you might not know about it until the impact of that risk is irreversible.
7. Notes
There’s one last column in your risk register, and that’s a place to collect any notes that don’t fit under the categories already discussed. It’s important to have a place to put these ideas so they don’t get lost in the endless churn of a project.
Using ProjectManager’s Risk Log Features to Track Risks
ProjectManager is an award-winning project management software with integrated risk-tracking features that allow you to list, manage and collaborate with ease. Once you’ve selected a certain risk, there’s a simple and fast way to edit every aspect of the risk, including its name, description, owner and its level of priority. Even better, you have the ability to add notes, files, images and other attachments to that specific project risk.
Another powerful risk management features is our real-time dashboard. Our project dashboard gives you a snapshot of your project status and is ideal for catching risks before they become issues. This unique feature is valued by project managers all over the world, in major companies like Volvo, NASA and Bank of America.
Related Risk Management Content
- How to Make a Risk Assessment Report (Templates Included)
- Bowtie Analysis for Risk Management: Example & Template Included
- Enterprise Risk Management: Process & Framework Explained
- ¿Cómo crear un registro de riesgos? (Plantilla gratis)
- Risikoregister: Was ist das und wie wird es erstellt?
ProjectManager is online project management software that offers a collaborative risk-tracking tool that gives you all the features you need to identify, track and resolve risks as they become issues in your project. Try it yourself and see how it can make managing risk and the whole project that much easier. Take our free 30-day trial today!

